
How to Screen Record on Windows 11? The Ultimate Guide for Content Creators and Professionals

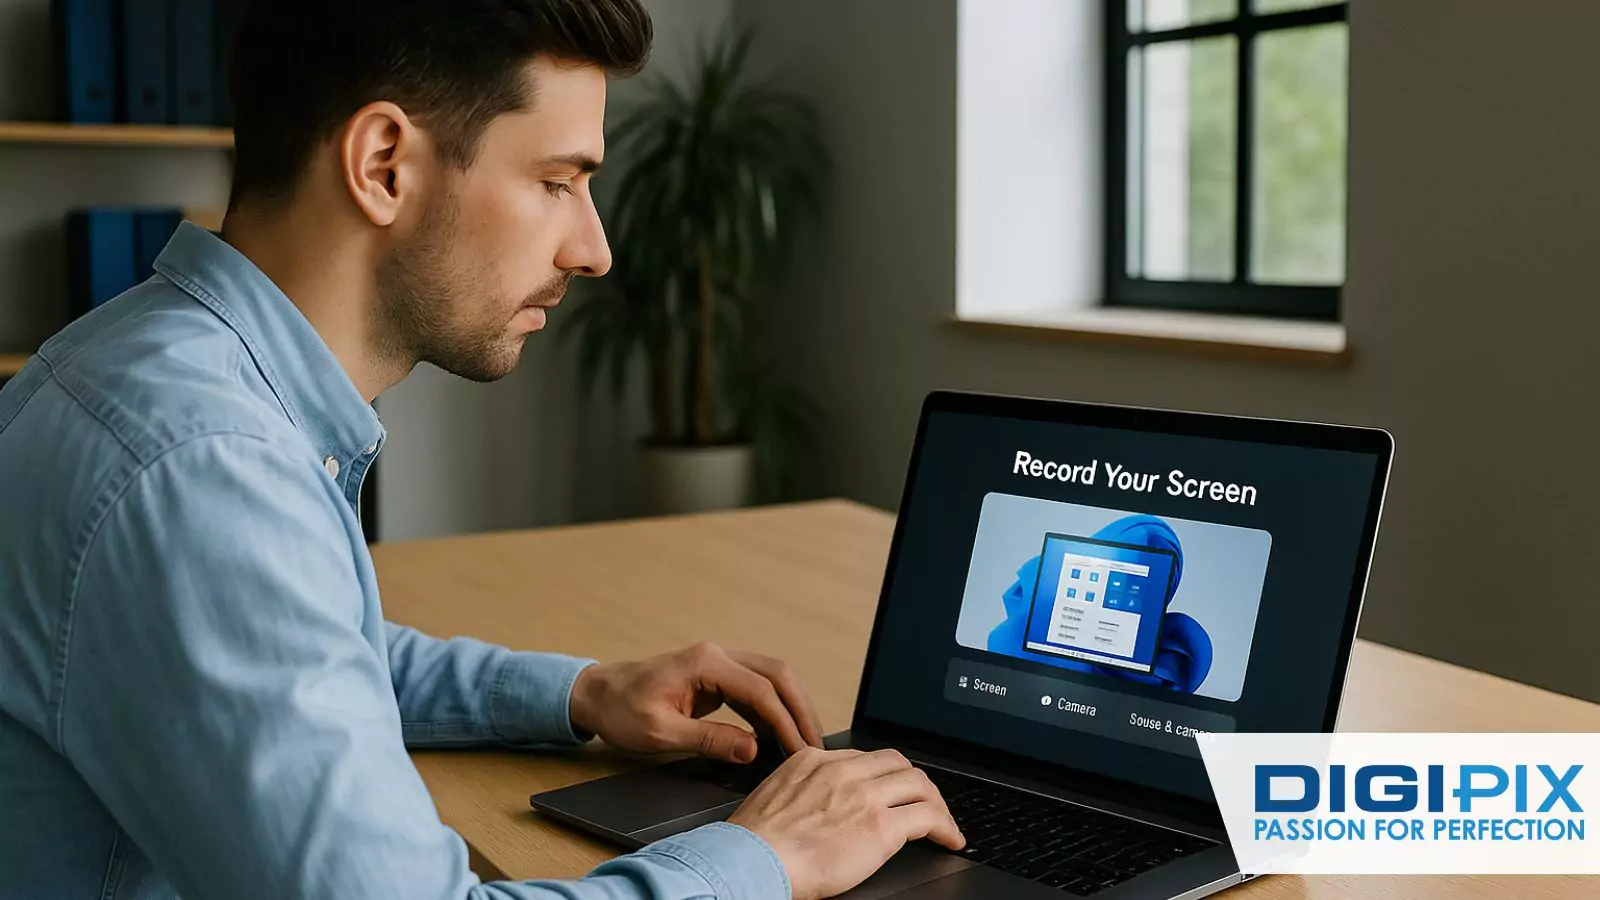
Screen recording on Windows 11 is a powerful tool for content creators, educators, gamers & professionals who want to capture tutorials, presentations, gameplay, or troubleshooting sessions. Whether you’re making YouTube videos, recording webinars, or demonstrating software, knowing how to screen record on Windows 11 is essential for modern digital workflows.
In this comprehensive guide, we will walk you through the best methods using built-in tools like the Snipping Tool and Xbox Game Bar.
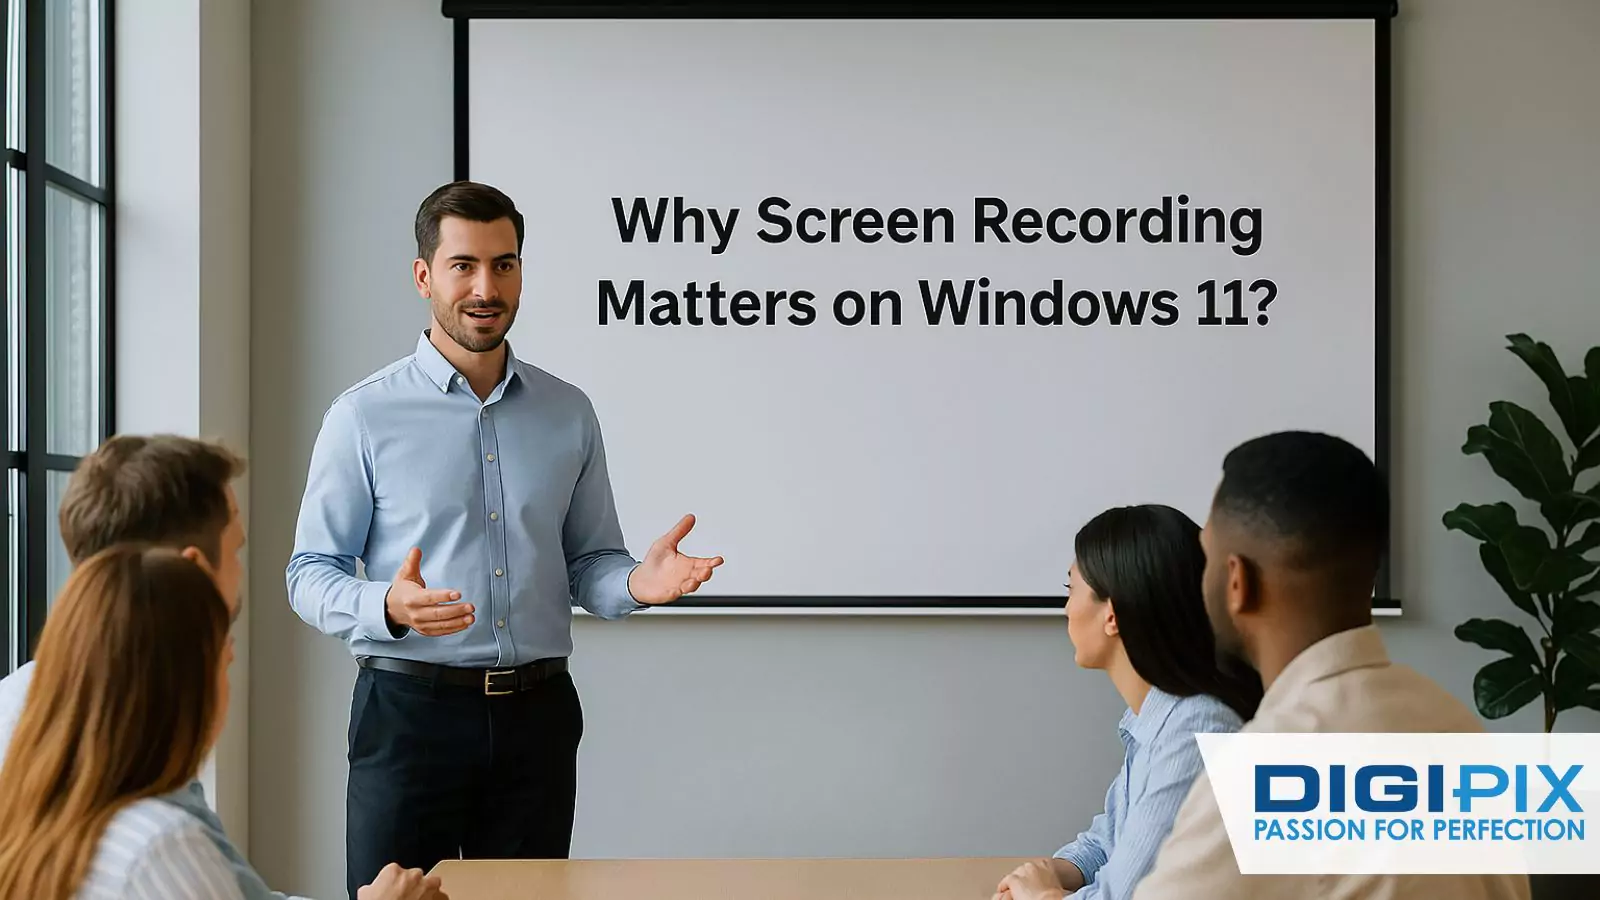
Why Screen Recording Matters on Windows 11?
Screen recording is more than just capturing your desktop. It’s a versatile feature that helps you:
Discover the Power of Screen Recording on Windows 11 with DigiPix Inc. Where Passion Meets Perfection!
- Create tutorials and how-to guides for audiences of all skill levels.
- Record gameplay and streaming sessions for gamers and content creators.
- Capture software bugs and errors for IT support and troubleshooting.
- Produce professional presentations and demos for business and education.
With Windows 11, Microsoft has made screen recording more accessible than ever, offering multiple ways to capture your screen without installing additional software.
Built-In Screen Recording Tools on Windows 11
Windows 11 includes several powerful tools for screen recording. Here’s how to use them effectively.
Using the Snipping Tool for Screen Recording
The Snipping Tool, long known for screenshots, now supports screen recording in Windows 11 (version 22621.1344 or higher). This feature is perfect for capturing specific areas of your screen, making it ideal for tutorials and focused demos.
How to use the Snipping Tool for screen recording:
- Open the Snipping Tool: Press Windows + Shift + S to launch the tool quickly, or search for “Snipping Tool” in the Start menu.
- Switch to Recording Mode: Click the video camera icon in the toolbar to enable screen recording.
- Select the Area to Record: Click “New” and drag to select the area of your screen you want to capture.
- Start Recording: Click “Start” and perform your on-screen activity. You can pause or stop the recording as needed.
- Save Your Recording: Click “Stop,” then save your video as an MP4 file.
Tips for Best Results:
- Update Your Snipping Tool: Ensure you have the latest version from the Microsoft Store for access to all features.
- Customize Audio Settings: Toggle the microphone and system audio on or off before recording.
- Record for Extended Sessions: There’s no strict time limit, but system resources and storage may affect performance
Unlock the benefits of local SEO with DigiPix our proven strategies connect your business with nearby customers, increase foot traffic & drive qualified leads.
Improve your local search rankings, appear in Google Maps results & build credibility with campaigns designed to maximize your reach.
See measurable growth with enhanced visibility, more website visits from local customers & a strategy focused on dominating local searches.
Start Free Now
Using Xbox Game Bar for Screen Recording
Xbox Game Bar is another built-in tool, primarily designed for gamers but useful for any screen recording need.
How to use Xbox Game Bar for screen recording:
- Launch the App or Game: Open the application or window you want to record.
- Open Xbox Game Bar: Press Windows + G to bring up the Game Bar overlay.
- Start Recording: Click the “Record” button or press Windows + Alt + R.
- Stop Recording: Press Windows + Alt + R again to stop.
- Access Your Recording: Find your video in C:\Users\USERNAME\Videos\Captures.
Limitations:
- Single App Focus: Xbox Game Bar can only record one app at a time, not the entire desktop or multiple windows.
- Quick Shortcuts: Use Windows + Alt + M to toggle microphone audio during recording.
Using Third-Party Screen Recorders
While Windows 11’s built-in tools are robust, third-party screen recorders offer advanced features like editing, annotations, and multi-source recording.
Capture Every Moment with DigPix Inc. Where Passion Meets Perfect Screen Recording!
Popular Third-Party Options:
- Clipchamp: Microsoft’s own video editor with built-in screen recording.
- Description: Advanced editing, transcription, and collaboration tools.
- Movavi Screen Recorder: Intuitive interface with flexible recording options.
How to use Clipchamp for screen recording?
- Open Clipchamp: Search for “Clipchamp” in the Start menu and sign in.
- Create a New Video: Click “Create a new video.”
- Start Screen Recording: Click “Record & Create,” then “Screen.” Select your source (browser tab, window, or entire screen).
- Record and Edit: Click the red record button, then save or edit your recording.
Unlock the benefits of local SEO with DigiPix our proven strategies connect your business with nearby customers, increase foot traffic & drive qualified leads.
Improve your local search rankings, appear in Google Maps results & build credibility with campaigns designed to maximize your reach.
See measurable growth with enhanced visibility, more website visits from local customers & a strategy focused on dominating local searches.
Start Free Now
How to Screen Record on Windows 11 with Audio?
Capturing audio is crucial for tutorials, presentations & gameplay. Both the Snipping Tool and Xbox Game Bar allow you to record system audio and microphone input.
- Snipping Tool: Toggle the microphone and system audio icons before starting your recording.
- Xbox Game Bar: Use Windows + Alt + M to toggle the microphone during recording.
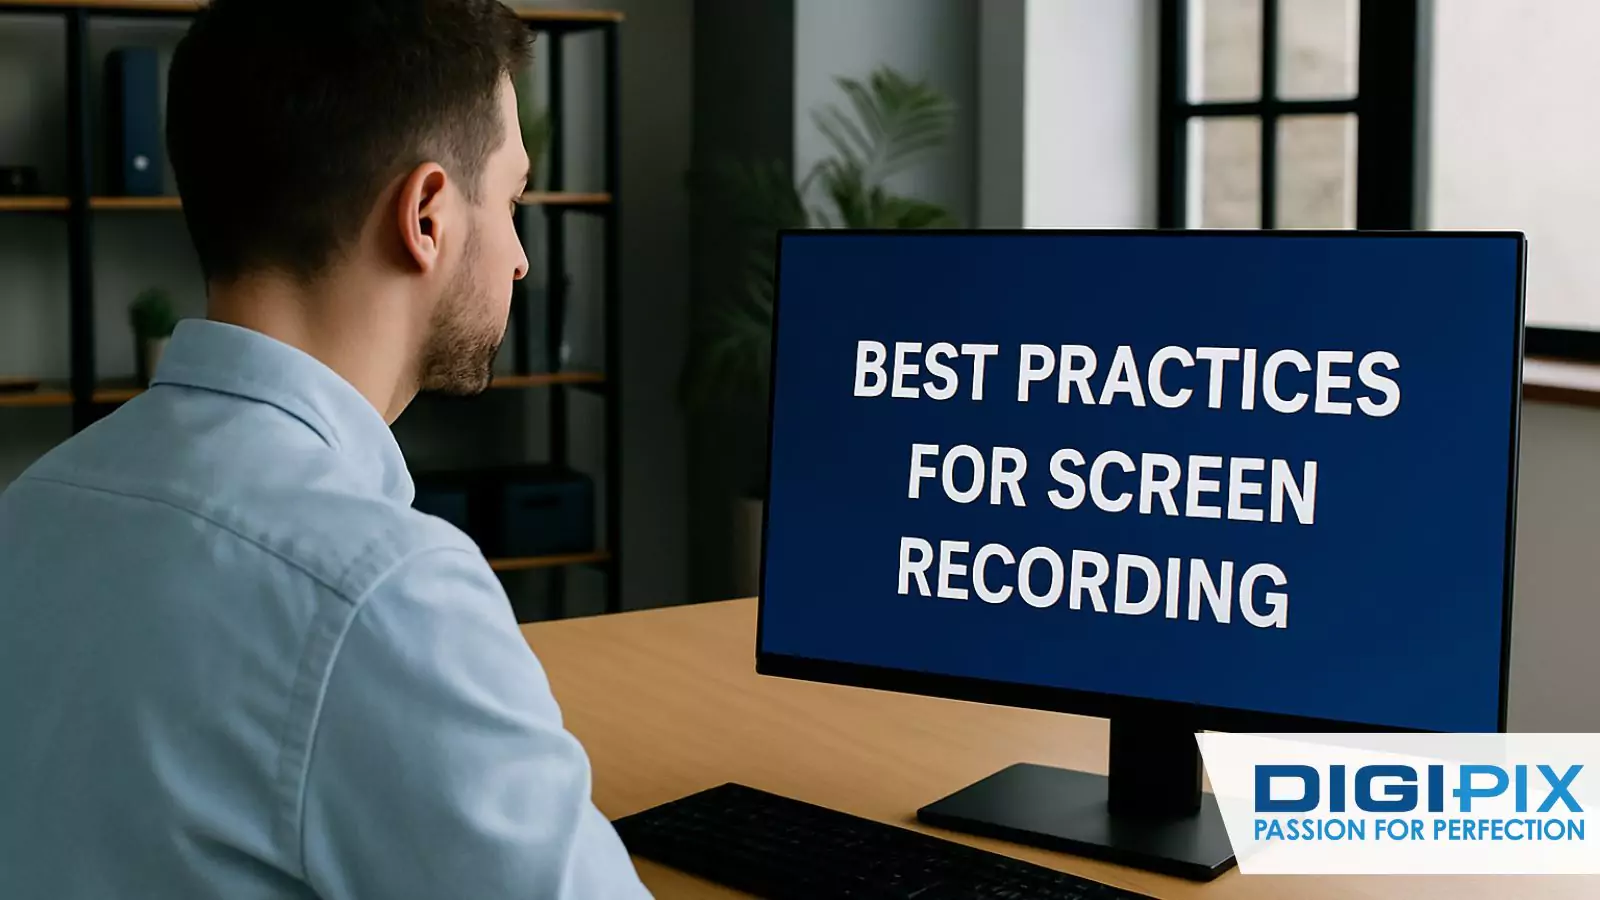
Best Practices for Screen Recording on Windows 11
To ensure high-quality recordings, follow these best practices:
Master Screen Recording with DigiPix Inc. Best Practices for Flawless Captures!
- Check Your Windows Version: Ensure you have the latest updates for access to all features.
- Prepare Your Screen: Close unnecessary applications and notifications to avoid distractions.
- Test Audio Settings: Verify microphone and system audio levels before recording.
- Use Keyboard Shortcuts: Familiarize yourself with shortcuts for faster workflow.
- Edit Your Recordings: Use tools like Clipchamp or Descript for trimming, annotations & effects.
Are you ready to create professional screen recordings for your business, education, or creative projects? DigiPix Inc. offers expert video production, editing & content creation services tailored to your needs.
Whether you need polished tutorials, engaging presentations, or dynamic gameplay videos, our team is here to help.
Contact DigiPix Inc. today and let us transform your screen recordings into stunning, shareable content!
Unlock the benefits of local SEO with DigiPix our proven strategies connect your business with nearby customers, increase foot traffic & drive qualified leads.
Improve your local search rankings, appear in Google Maps results & build credibility with campaigns designed to maximize your reach.
See measurable growth with enhanced visibility, more website visits from local customers & a strategy focused on dominating local searches.
Start Free Now
FAQs
Q1: Can I record my entire screen with the Snipping Tool on Windows 11?
Yes, you can select the entire screen area when using the Snipping Tool’s screen recording feature. Just drag the selection box to cover your full desktop.
Q2: What file format do Windows 11 screen recordings use?
Both the Snipping Tool and Xbox Game Bar save recordings as MP4 files, ensuring compatibility with most video players and editors.
Q3: Is there a time limit for screen recordings in Windows 11?
There is no official strict time limit. However, factors like available storage and system memory may affect the length of your recordings.
Q4: Can I record audio with my screen on Windows 11?
Yes, both the Snipping Tool and Xbox Game Bar allow you to record system audio and microphone input.
Q5: Can I record multiple windows or apps at once with the Xbox Game Bar?
No, Xbox Game Bar can only record one app or window at a time. For multi-window or full desktop recording, use the Snipping Tool or a third-party recorder.
Conclusion
Screen recording on Windows 11 is straightforward, thanks to built-in tools like the Snipping Tool and Xbox Game Bar. These features empower users to create high-quality tutorials, presentations & gameplay videos with minimal setup.
By following the steps outlined in this guide, you can capture, edit & share your screen recordings efficiently, whether you’re a content creator, educator, or professional.
Request A Quote

Written By: Khurram Qureshi
Founder & consultant of DigiPix Inc.
Call or text: 416-900-5825
Email: info@digipixinc.com
About The Author
In 2005, Khurram Qureshi started DigiPix Inc. which started off as a design agency offering video editing to professional photography, video production & post production, website designs and 3D Animations and has now expanded towards online marketing and business consultancy. Khurram Qureshi also is a motivational figure and participates in local and international platforms. He also play a role in the local community development, helping local young minds get ready to enter the job market.